How To Make Masa Recipe Waina Rice Puff Puff
How to Make Masa Recipe – Waina Rice Puff Puff
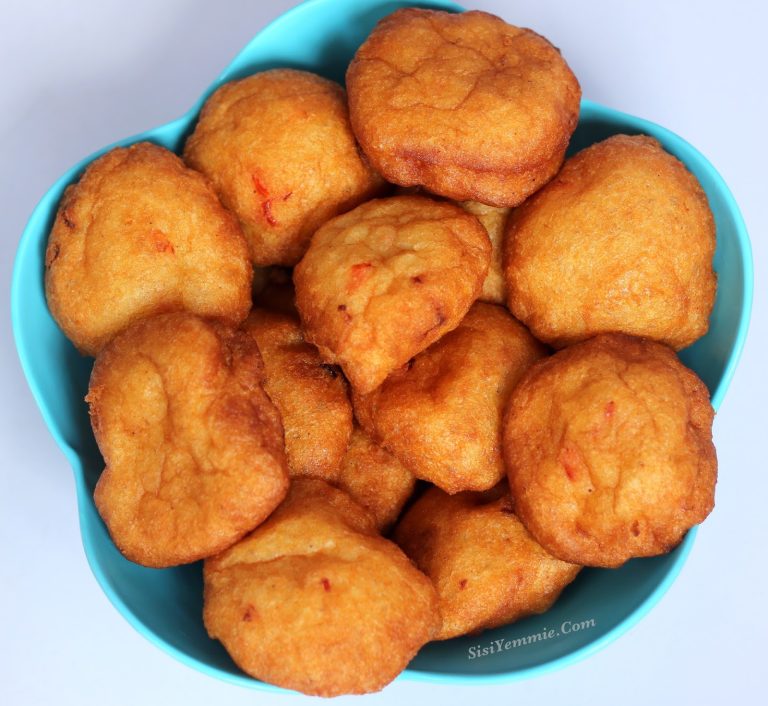
Are you looking for a delicious and easy-to-make snack? Look no further! Masa is a Nigerian dish that consists of rice puff puff. It’s a versatile dish that can be enjoyed as a snack or as a main course. In this article, we will guide you through the process of making Masa, also known as Waina, from scratch. So put on your apron and let’s get cooking!
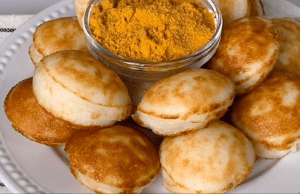

Masa Recipe – Waina Rice Puff Puff
Masa is traditionally made from fermented rice, but for this recipe, we will be using raw rice flour to simplify the process. Here are the ingredients you’ll need:
– 2 cups of rice flour
– 1/2 cup of yogurt
– 1 teaspoon of yeast
– 1/4 cup of sugar
– 1/2 teaspoon of salt
– 1/2 teaspoon of baking powder
– 1 cup of warm water
– Vegetable oil for frying
Now let’s break down the steps to make Masa:
Step 1: Make the Batter
To begin, combine the rice flour, yogurt, yeast, sugar, salt, and baking powder in a mixing bowl. Gradually add warm water to the mixture while stirring continuously. The consistency of the batter should be slightly thicker than pancake batter. Mix well until smooth and leave the batter to rest for 30 minutes to an hour. This resting period will allow the yeast to activate, resulting in a light and fluffy texture.
Step 2: Preheat the Pan
While the batter is resting, preheat a non-stick pan or a Masa pan over medium-low heat. Grease the pan lightly with vegetable oil to prevent sticking. It’s important to use a pan with shallow, circular compartments to achieve the signature shape of Masa.
Step 3: Cook the Masa
Once the batter has rested, give it a quick stir to ensure the ingredients are well incorporated. Pour small portions of the batter into the preheated pan, filling each compartment about halfway. Allow the Masa to cook for a few minutes until it starts to bubble and the edges turn golden brown. Flip each Masa using a fork or a spatula and cook for an additional minute or until both sides are evenly browned. Repeat this process until all the batter is used.
Step 4: Serve and Enjoy
Remove the cooked Masa from the pan and place them on a paper towel-lined plate to absorb any excess oil. Masa is traditionally served with various accompaniments such as spicy tomato sauce, honey, or a savory dip. Be creative and choose toppings that suit your taste. Serve the Masa warm and enjoy the delightful combination of crispy edges and soft, fluffy interiors.
Frequently Asked Questions
Now that you’ve learned how to make Masa, let’s address some common questions that may come up during the process.
1. Can I use a different type of flour for Masa?
The traditional Masa recipe calls for fermented rice, but if you don’t have access to it, rice flour is a great alternative. However, you can experiment with other flours such as cornmeal or millet flour to create different variations of Masa.
2. Can I make Masa without yeast?
While yeast helps to give the Masa its fluffy texture, you can also make a yeast-free version by replacing it with baking soda. Keep in mind that the texture and taste may differ slightly.
3. How long can I store Masa?
Masa is best enjoyed fresh and warm. However, if you have leftovers, you can store them in an airtight container in the refrigerator for up to 2-3 days. Reheat them in the oven or on a stovetop pan to regain their crispiness.
4. Can I freeze Masa?
Yes, you can freeze Masa for later use. Place the cooked Masa in a sealed container or bag and store them in the freezer for up to a month. To reheat, thaw them overnight in the refrigerator and then warm them in the oven or on a stovetop pan.
Final Thoughts
There you have it – a simple, yet delicious recipe for Masa, also known as Waina rice puff puff. Whether you’re a seasoned cook or a beginner, this dish is sure to impress your family and friends. So why not give it a try and elevate your snack game? Serve it as an appetizer at your next gathering or enjoy it as a light and satisfying meal. Get creative with your toppings and sauces, and most importantly, have fun in the kitchen. Happy cooking!


